
About Projects:
Projects are an optional Accounting Segment available in Prendio and not enabled by default. When enabled and configured, Projects are pushed to your ERP System along with Departments, GL Accounts, and Terms.
- Enable Projects;
- Create A Prendio Project;
- Sync Projects An ERP System;
- Map a Prendio Project With An ERP Project;
- Accessing A Project In A Cart.
AP Management > General:
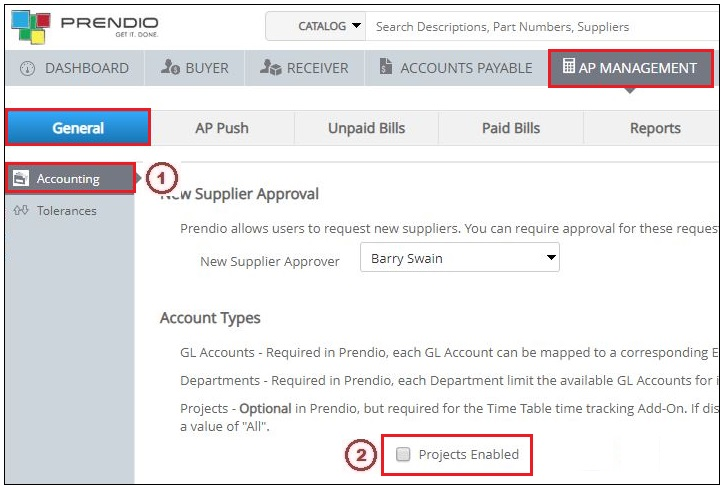
1. Select Accounting.
2. By default, Projects are Not Enabled.
Accounts Payable:
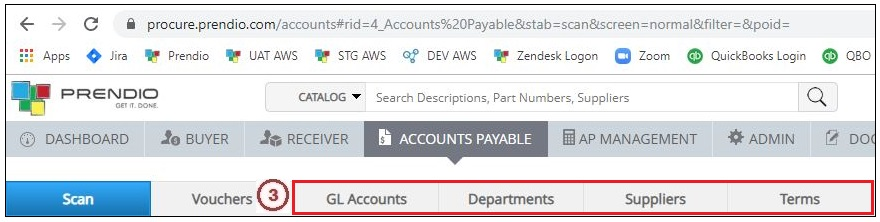
3. Because Projects are not enabled, they do not appear in Accounts Payable.
AP Management > General > Accounting:
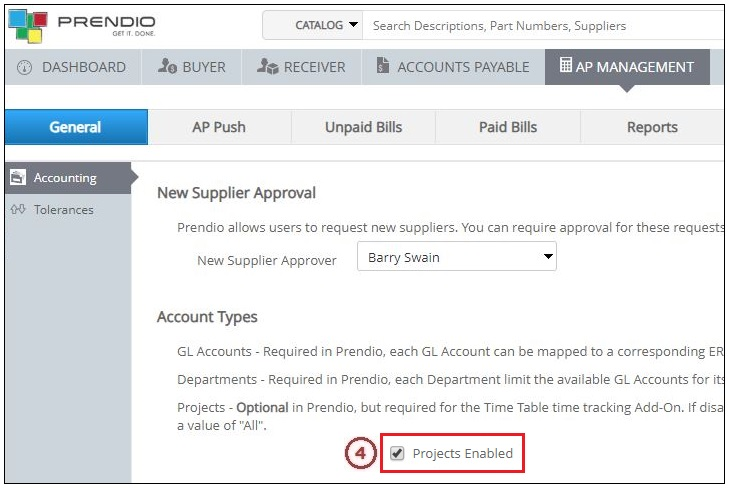
4. Check the Projects Enabled checkbox then press Save.
Creating A Prendio Project
Accounts Payable > Projects:
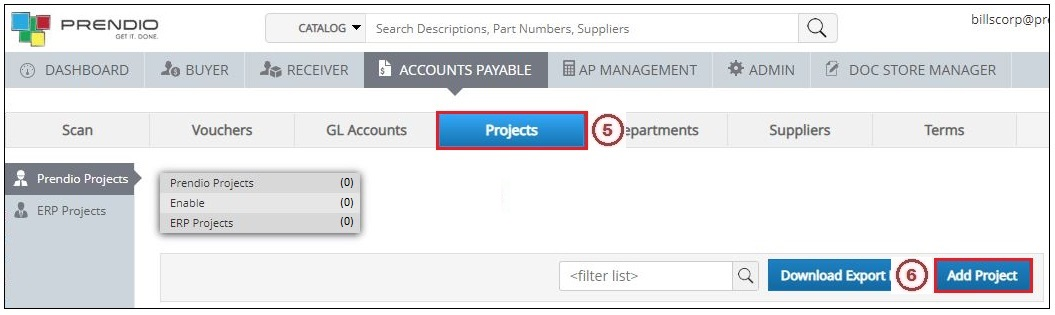
5. The Projects tab now appears after Projects were enabled;
6. Press the Add Project button to create a new Prendio Project;

7. Enter a Project Name;
8. A Project Manager can be selected, clicking in this field will display a list of the Prendio Users for your company. In this example, a Project Manager is not selected. A Description can also be entered for the Project;
9. The Project can be Available for Time Time Table (optional Prendio feature) and True should be selected in the Available for Purchases pulldown menu;
10. The ERP Map pulldown menu will be used later in this procedure to map this Prendio Project with an ERP Project.
11. Press Save when complete.
The Project has been created but additional configuration is required, press the (pencil icon) to edit the Project.
Watchers And Approvers
Optional: Watchers and/or Approvers can be added to a Project. If a Watcher is selected, that user will be notified when a cart is submitted that includes the Project. If an Approver is selected, that user will be requested to approve a req when a cart is submitted that includes the Project.
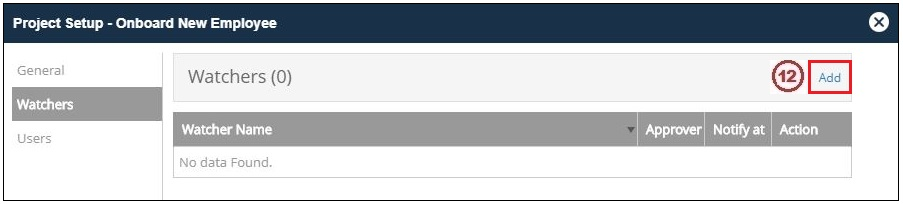
12. Clicking the Add link will display a list of the Prendio Users for your company. Watchers cans be selected from this list and added as Watchers. After a user is selected as a Watcher, an Approver checkbox will be available. Checking this box will elevate the Watcher to an Approver. In this example, a Watcher and Approver were not selected.
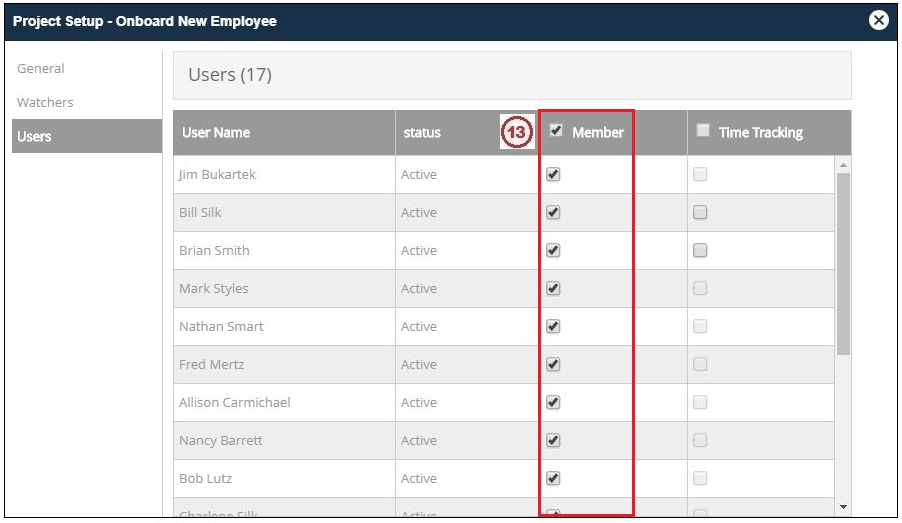
13. Select the Users tab then check the checkbox next to the Member heading to select all users or check individual boxes to add specific users.
Select the General tab then press Save.
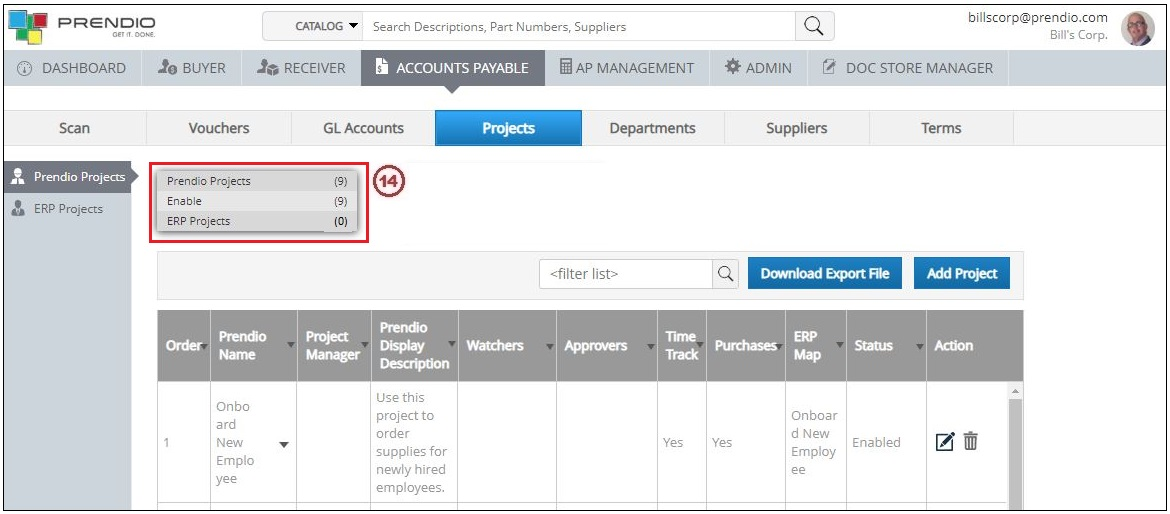
14. After this Project was created 8 more Prendio Projects were also created following Steps 6 - 13. This updated the number of Prendio Projects.
Note: The remaining configuration of this Project requires synchronization of the Prendio Projects with the ERP Projects. This process imports the ERP Projects into Prendio.
Note: The actual synchronization process and the ERP Projects window differ depending on the type of ERP System integrated with Prendio. In this example integration with Quickbooks Desktop was used.
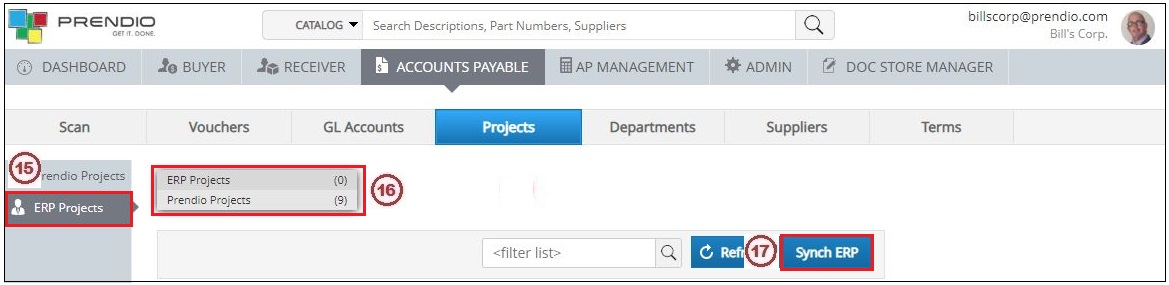
15. Select ERP Projects;
16. The Number of ERP Projects is currently 0, this number will increase when the synchronization is complete;
17. Press Synch ERP.
Sync Window
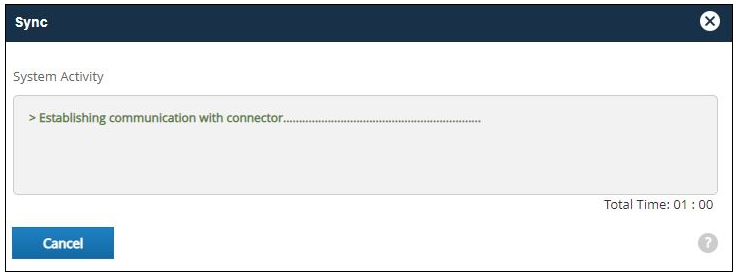
The Sync window will open while a connection is being made with the ERP System and automatically close when the sync is complete.
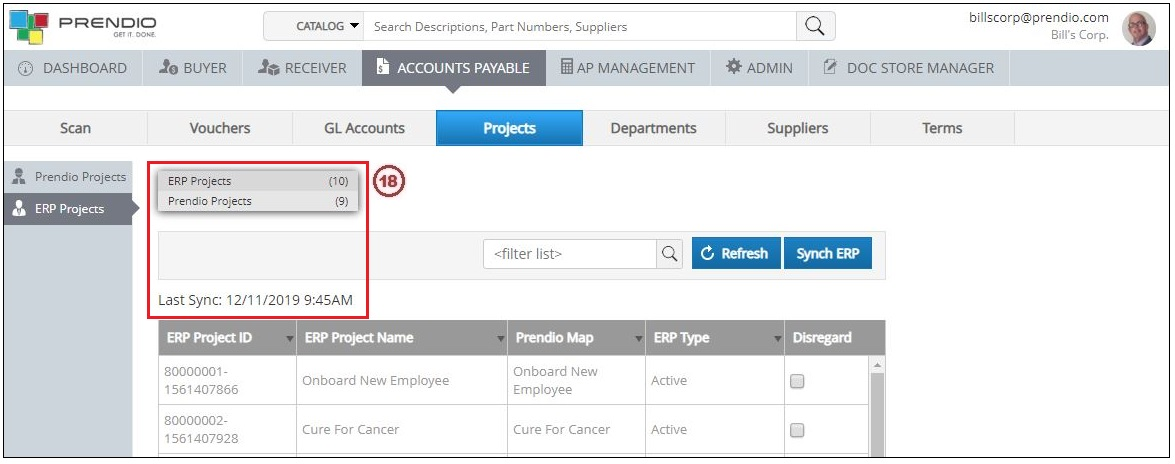
18. The Sync was complete and the Number of ERP Projects was updated.
Mapping A Prendio Project With An ERP Project
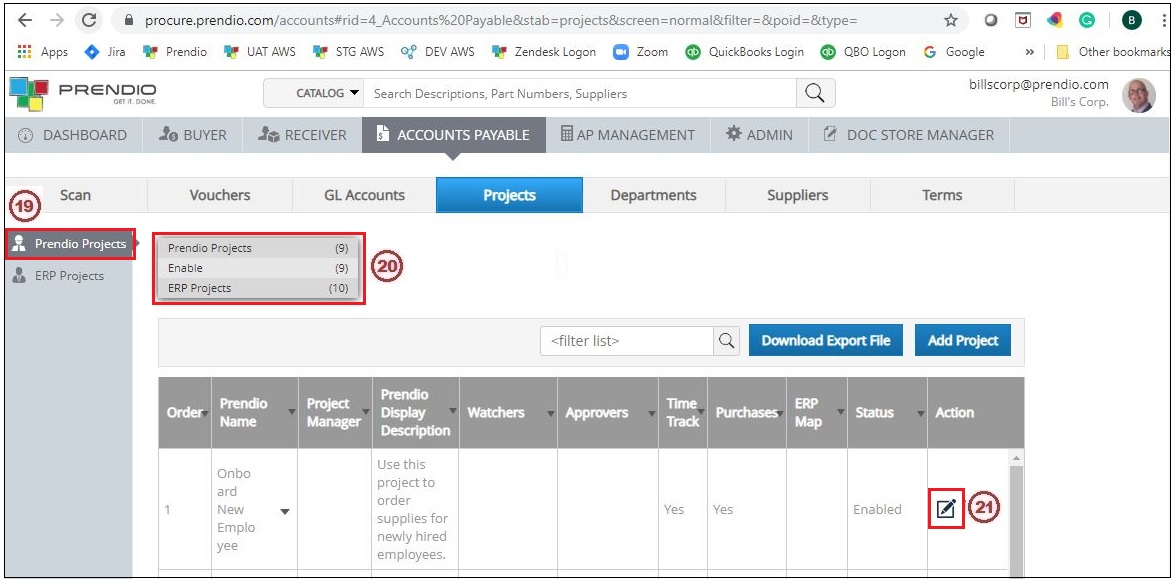
19. Select Prendio Projects;
20. Note that the number of Prendio Projects, Enabled Projects, and ERP Projects were also updated in this window;
21. Press the Edit icon to edit the Project.
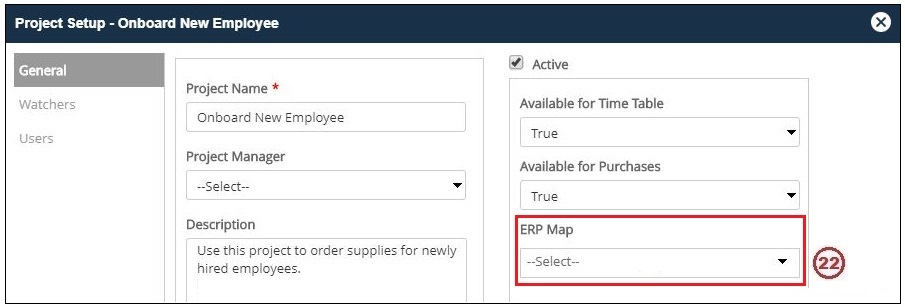
22. Click in the ERP Map pulldown menu.

23. In the filter field, enter the name of the ERP Map you want to map this Prendio Project with to easily locate it;
24. Select the ERP Map.
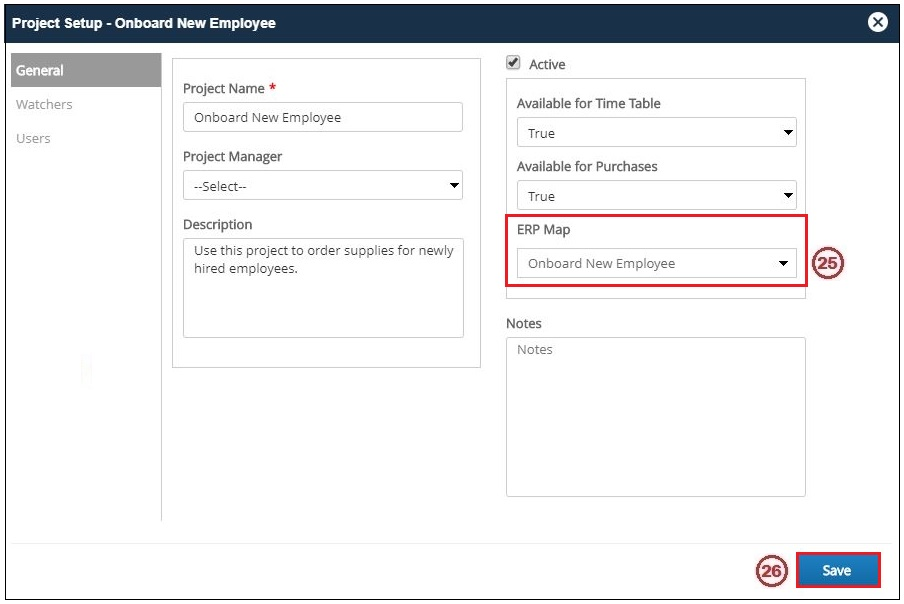
25. The name of the ERP Map selected appears in the ERP Map field;
26. Press Save when complete.
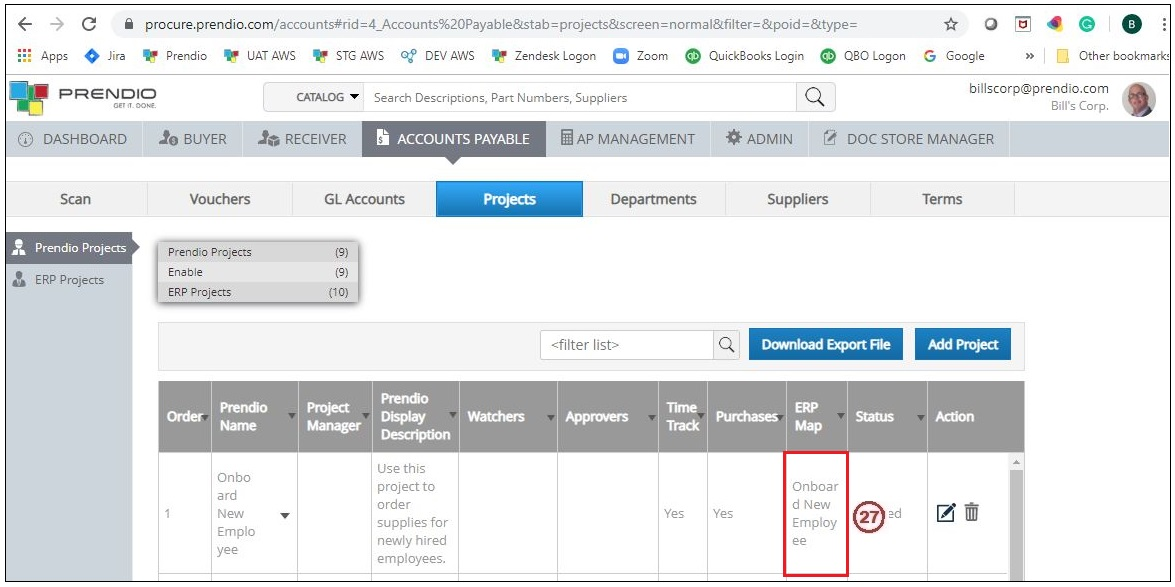
27. Configuration of the Project is complete and the name of the ERP Map that will be used with this project is displayed here.
Note: Follow Steps 19 - 26 to Map any additional ERP Projects imported during the ERP Synchronization with Prendio Projects.
Accessing The Project In A New Cart

28. The Project is now available in the Project Pulldown menu for ay users selected as a Member of this Project.